Building a homepage from scratch.
In this article, we go through the basic steps to create a fully customizable homepage using nginx, jenkins and hugo.
The goal is to have a working webpage at the end of this tutorial. Along the way you will hopefully learn about:
- linux (bash, installing software, privileges, services)
- networks and firewalls
- dns
- automation
The host
Setup
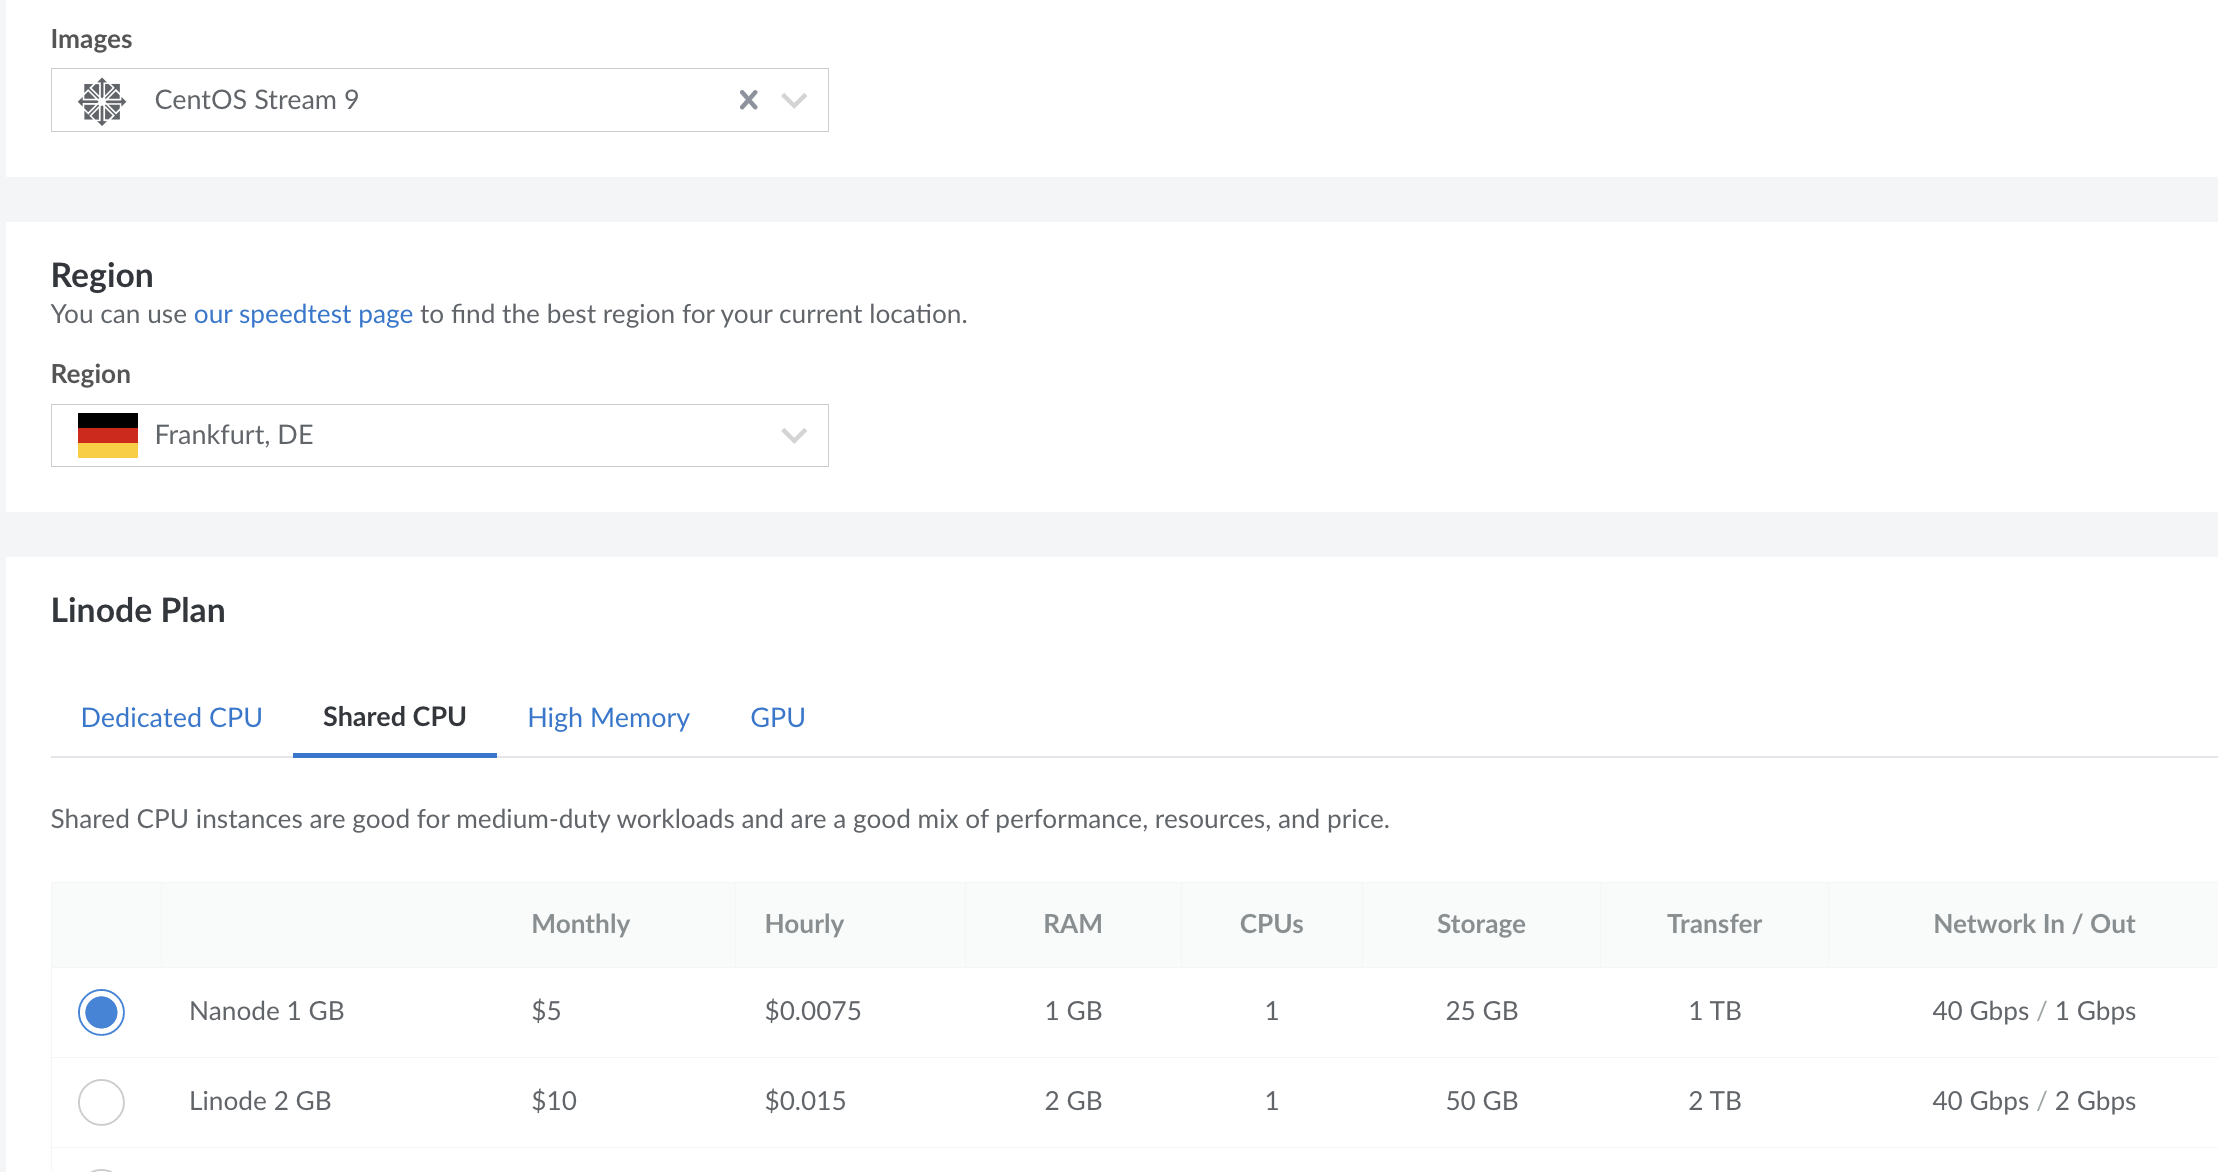
First, we need a server with a public IP address. It doesn’t matter which vendor you choose for this tutorial.
SSH
The first time you set up your node you probably only have a password and an IP address to log in. We want to use ssh, which is more secure and easy to handle. To this end, we first generate a key pair on the local machine with ssh-keygen and then copy the public key to the remote host by using
|
|
Now you should be able to log in to your machine without using a password.
root user for the whole tutorial. In another tutorial, we will configure our machine in more detail and add some security features.If you wonder why I post the actual IP address of the node, it’s safe. IP addresses are no credentials and are publicly accessible to anyone. If you want to get the IP address of a webpage like googe.com you may use
|
|
However, you should never expose the private ssh key or the password for the root user to the public.
First steps on the host
Before we start, we log in to our node to update and install some basic tools.
|
|
Firewall
By default, on CentOS, a firewall is enabled and has no holes. For our homepage, we need two services to be accessible from the public. The webpage itself, initially served on the http port 80 and after setting up TLS on port 443, and the jenkins web app on port 8080.
|
|
DNS
To access the services from the public internet, we need a domain. The domain provider makes this address publicly resolvable. In the settings of your domain, you have to create an A-record with your nodes IP address.

Packages
nginx
Next, we install a webserver called nginx, which hosts the homepage. Check out the nginx website for more details.
|
|
Since we want to use jenkins to build the static HTML and copy it to a destination from which nginx serves our homepage we have to grant the jenkins user permissions. We use the standard folder and a
|
|
to change ownership of the standard folder.
In Linux everything is a file. To find out details about locally installed users, you can do
|
|
At this point, we should already have a working webpage, which is accessible at http://your-domain, i.e. on the standard http port 80. In the next section, we will add TLS encryption to make the website secure and accessible via https on port 443.
certbot
Next, we install certbot. This tool manages certificates and integrates well with nginx. For more details have a look at this tutorial.
First, we create an nginx config file, which later will be automatically modified by certbot.
|
|
EOFnotation, I recommend having a look at heredocs.Now we will install certbot. If you are running another OS this website is very useful to determine the correct installation method. For CentOS 8 we have to do the following:
|
|
The output should look something like this:
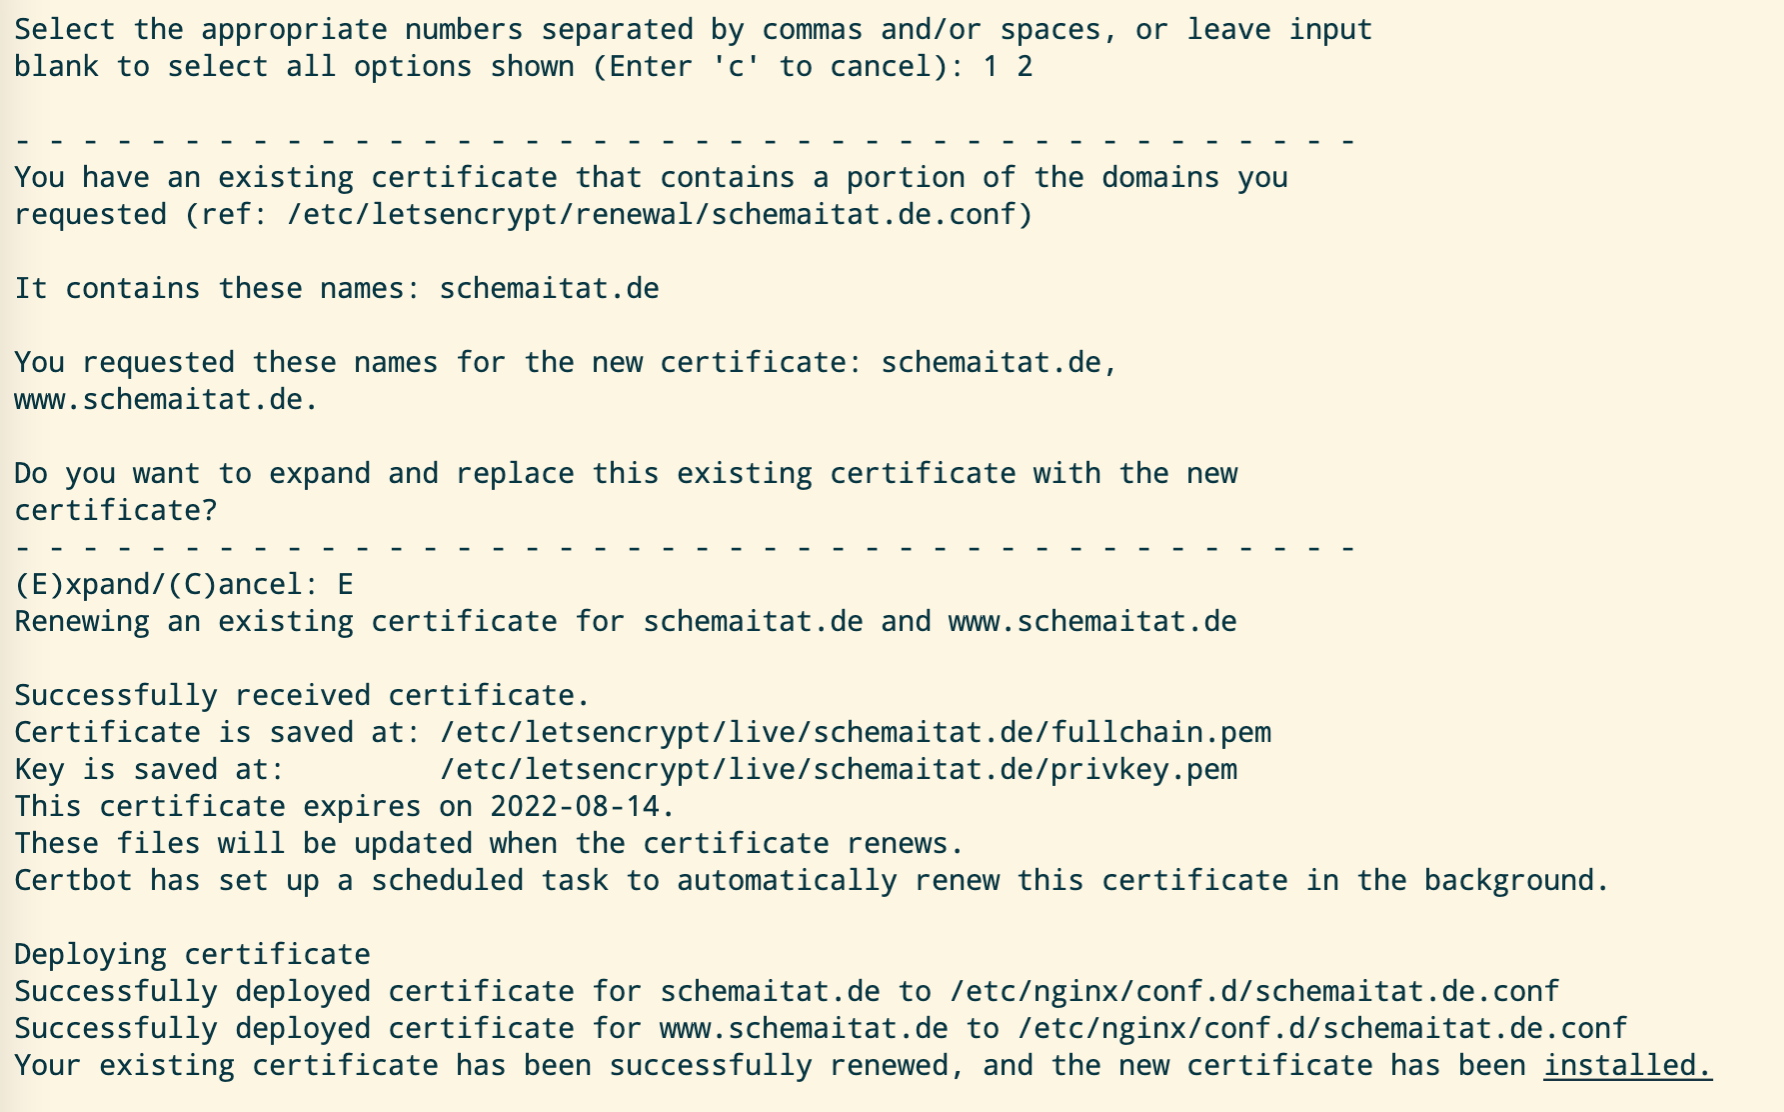
Now, we can see our homepage, more precisely the nginx example page, being served at https://your-domain.
Finally, we want to automatically renew our certificates (which become invalid after 90 days). To this end, we add a cron job. Run crontab -e and add
0 12 * * * /usr/bin/certbot renew --quiet
hugo
Hugo is a static website generator. You only work with configuration files and markup language. No database is needed to build the final HTML for your homepage. Check out the hugo website for more information. To install hugo, we do the following:
|
|
jenkins
Finally, we install jenkins. This tool is widely used for automation tasks and is fully customizable. However, our first job will be very simple. Jenkins clones the git repo with our hugo sources and builds the static HTML from it.
Check out the Jenkins install page for CentOS.
|
|
After reboot you can check the status of the service with systemctl status jenkins. The output shoud look like this:
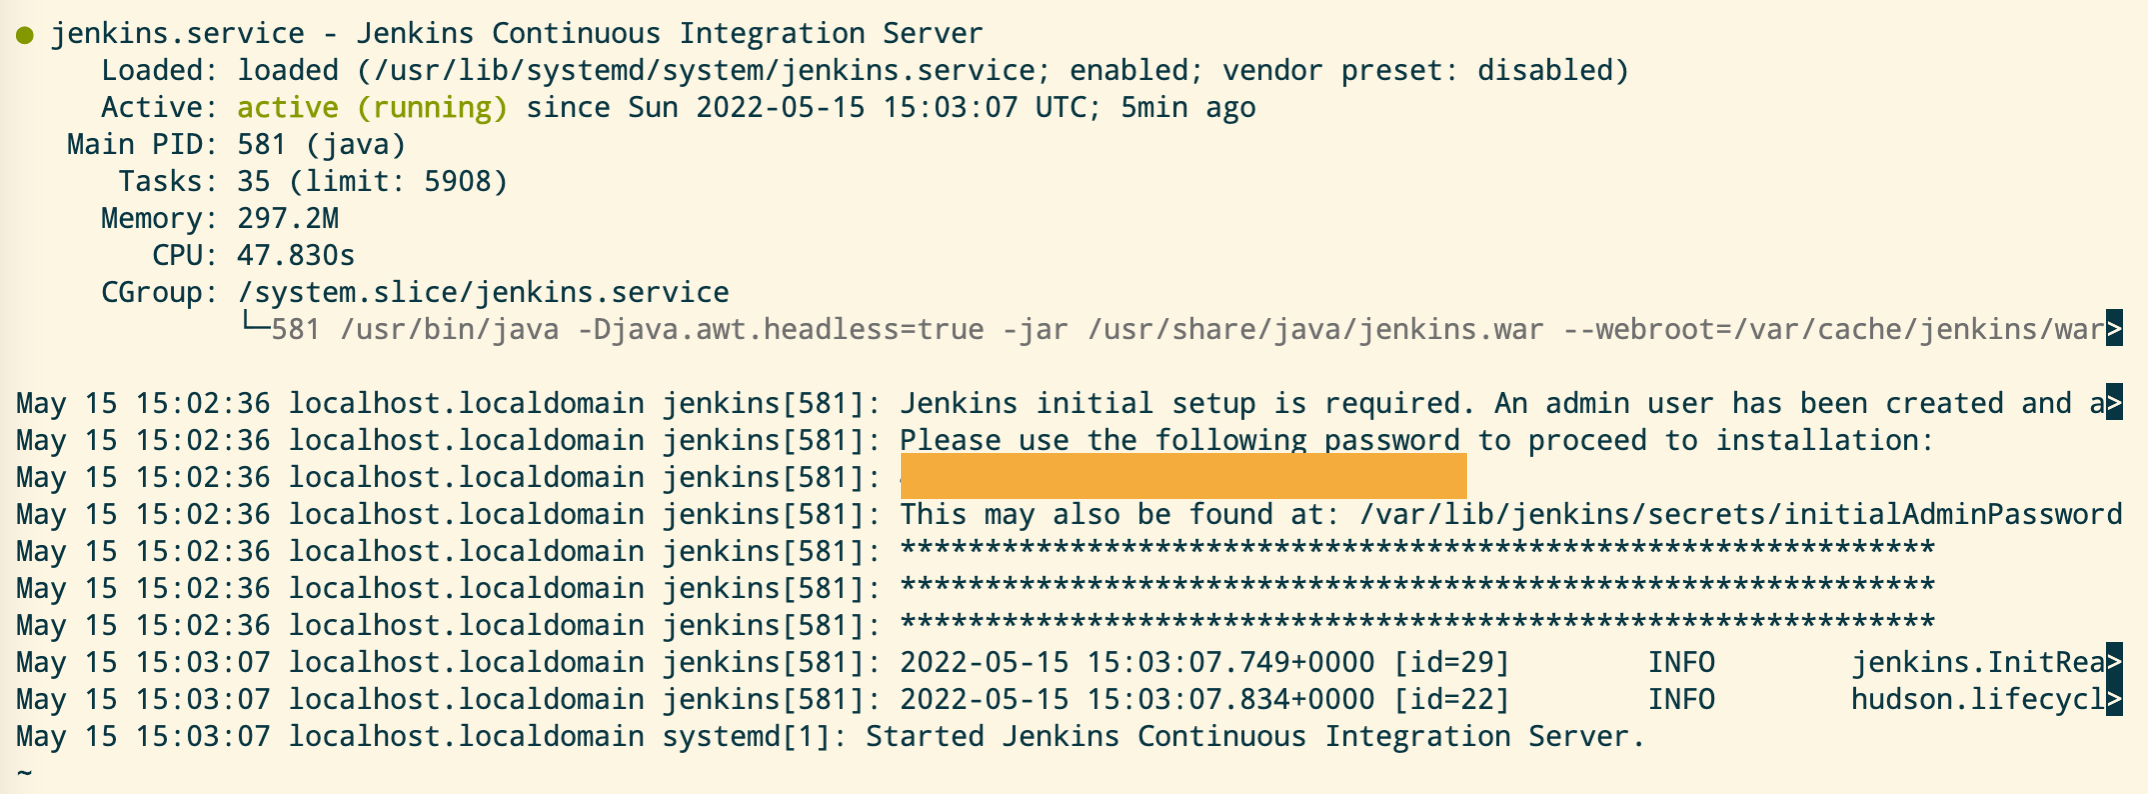
From the output you can extract the initial admin password, which you should change after first login. Furthermore, you can look at the process with ps -afe | grep jenkins, where you can also see that jenkins is running on port 8080.
Jenkins pipeline
In our source repository we put a Jenkinsfile, wich defines the pipeline that should be executed. The idea ist to first build the static HTML with hugo and then copy the output to our root destination for nginx. This is an example of a very basic Jenkinsfile:
pipeline{
    agent any

    stages {
        stage('Build static HTML') {
			steps{
                sh "rm -rf public"
                sh "hugo"
			}
		}
        stage("Update HTML"){
            steps{
                sh'''#!/bin/bash
                rm -rf /usr/share/nginx/html/*
                cp -r public/* /usr/share/nginx/html
                '''
            }
        }
    }
}
Next, we set up a webhook for our git repository. Each time a push happens to the repo we want to start the jenkins pipeline. That fully automates the build and deployment process.
In the jenkins plugins section, we first install the following plugin:

Next, we create a new jenkins pipeline. First, create an element and select multibranch pipeline.

Now, select Git as branch source, provide the source repository for your hugo project and credentilas if needed.
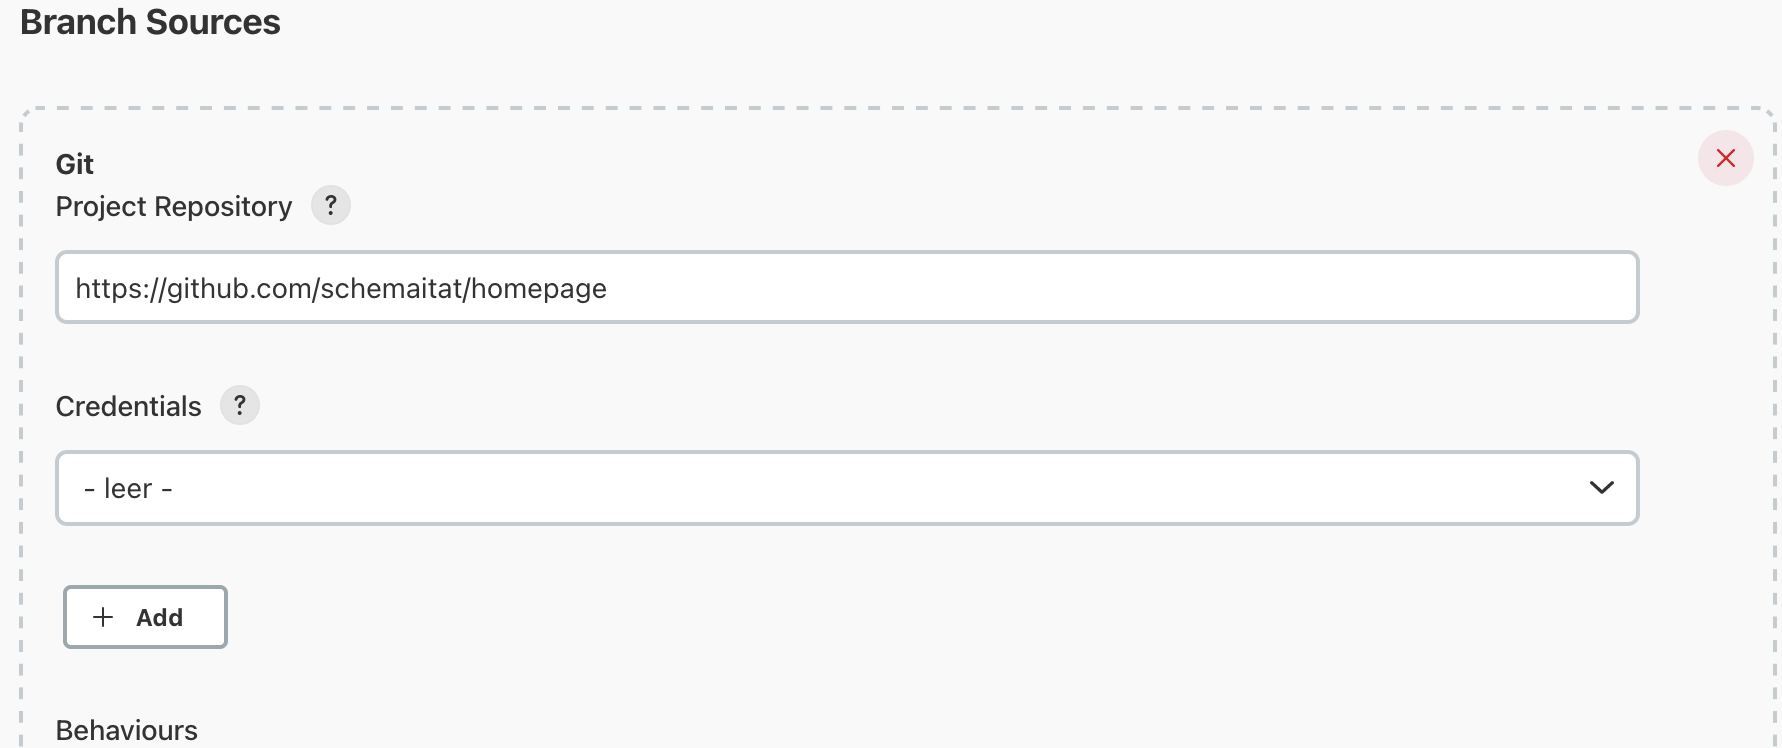
Select Scan by webhook in the settings and make sure to use a secret token:
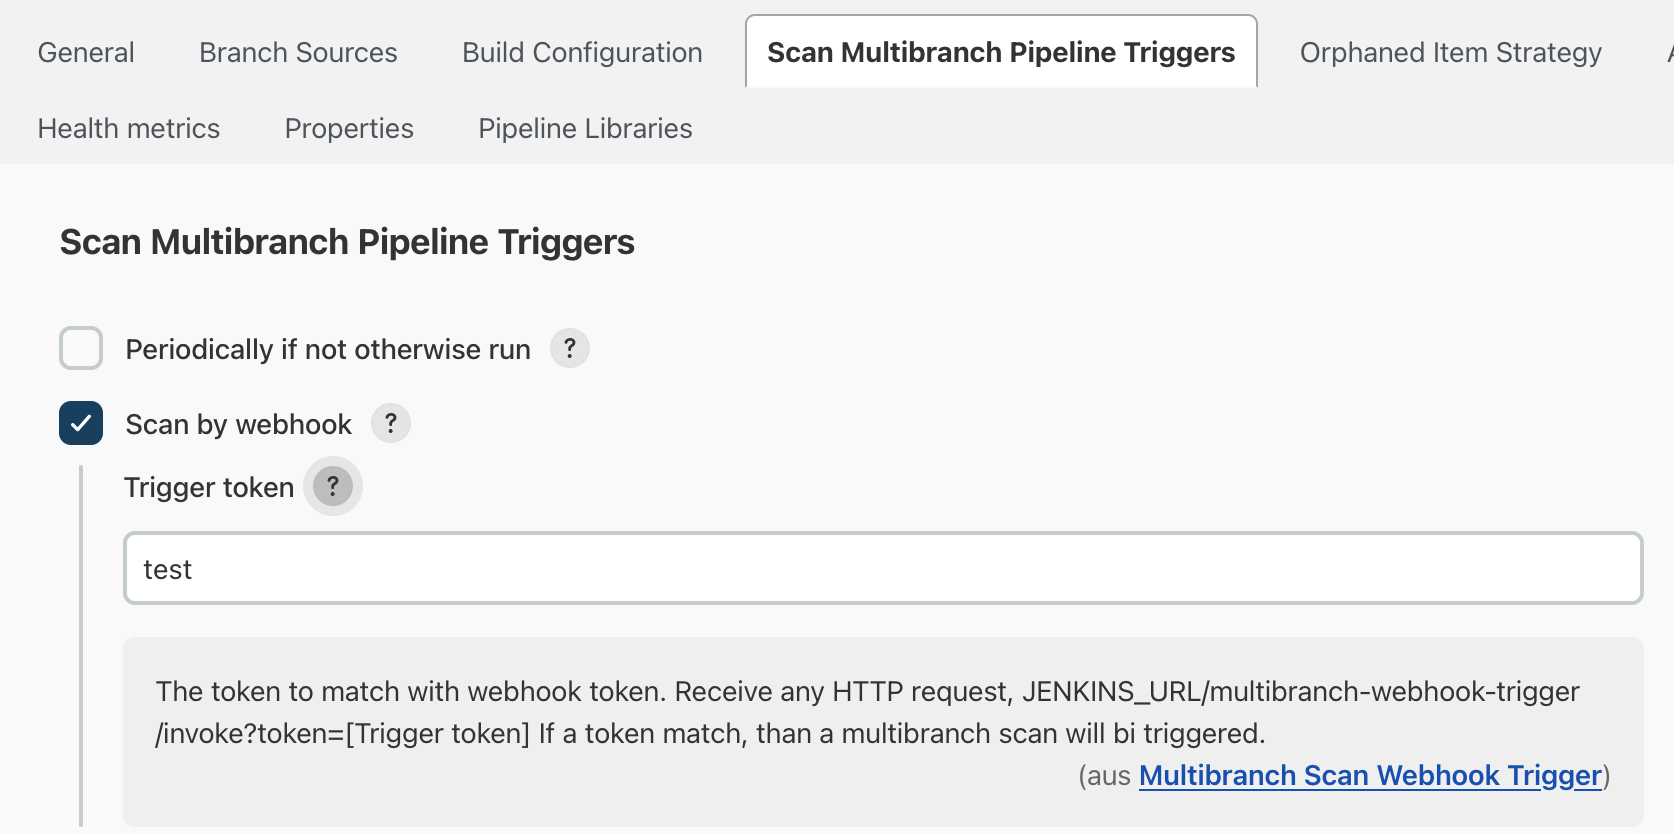
Finally, create the webhook in GitHub. The URL has to look like
http://your-domain:8080/multibranch-webhook-trigger/invoke?token=your-token
After having saved the pipeline the first build starts and every time you push new commits to the repo the website is updated.